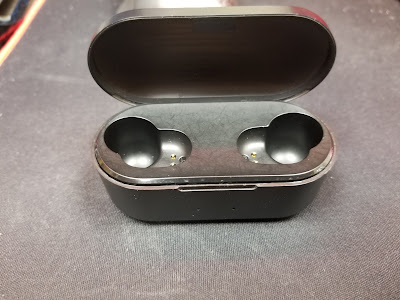
So let's get on with it.
I recently purchased a set of wireless headphones from Amazon and they have turned out to be surprisingly good. Except one thing. How can a set of headphones call itself "wireless" when you have to plug them in?!
The headphones in question are SoundPEATS TrueFree +. I have no connection with Amazon or this... SoundPEATS (?) company outside of being a customer. And, so far, a reasonably happy customer at that. I've also previously purchased a Qi wireless charging kit for my old Galaxy S5 that has come and gone, but I saved the charging coil "just in case." Well, today ended up being that day.
First, I used some guitar picks to open the travel/charging case of the headphones. I've not been able to find any photos of a teardown, so if someone is looking for a teardown or disassembly of SoundPEATS TrueFree + then I hope Google brings you here.
The teardown showing the 800mAh battery:
I've seen this battery reported as 800mAh and it appears that is accurate.
With the case open, we can start eyeing our Qi coil to make sure it's going to fit reasonably well. Here is the coil that I had on hand.
The 600mAh Qi charging coil
It fits!!
So the way the charging coil fit in the Galaxy S5 is that the 3 pins (actually, they are small cubes) make contact with the 3 springs inside of the battery cover.

[Right] I had to remove the +5V and ground terminals from the charging coil in order to get a clean solder connection.
The board is single sided.
The board is fairly well laid out and it provides 5V DC to each of the ear plugs which will have their own battery management system.
It works!! The charger indicator is blue and the charging LEDs on the board are illuminated.
Now it's time to get everything put back together.
I made sure to put some hot glue under the pogo pins to ensure that they stand proud on the other side and connect to the ear buds properly.
Carefulling...
Bend it over... Still carefulling...
As always, I'm happy to answer any questions. Thanks for checking it out.


No comments:
Post a Comment